Canned Food News: 5 Mistakes to Avoid When Cooking with Canned Beans
Canned beans are one of those quiet heroes in the kitchen. Affordable, shelf-stable, and incredibly versatile, they’ve earned their place as a pantry staple in households worldwide. Whether you’re throwing together a hearty chili on a chilly evening, tossing a quick bean salad for lunch, or bulking up a cozy soup with plant-based protein, canned beans make meal prep almost effortless.
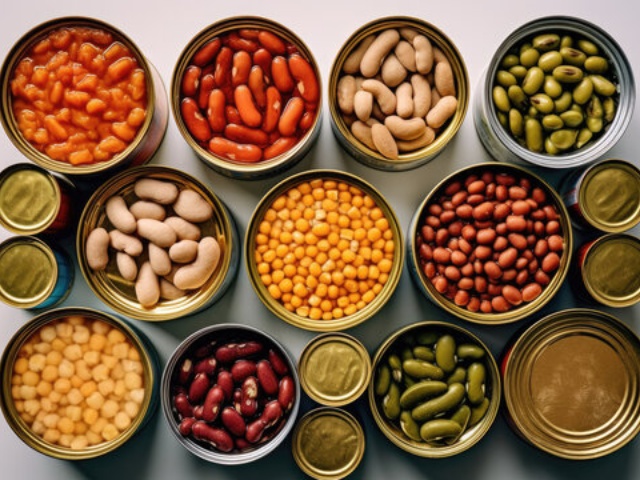
From black beans to kidney beans, cannellini to garbanzo (chickpeas), these legumes come in a wide variety of types and flavors. They’re the perfect answer for weeknight dinners, last-minute potlucks, or even sophisticated entrées. However, as convenient as canned beans are, there are a few pitfalls that even experienced home cooks sometimes fall into.
Have you ever noticed your beans turn out too salty? Or found that your roasted chickpeas lacked that satisfying crunch? Or perhaps you substituted canned beans for dried and the dish just didn’t taste quite right? You’re not alone. Small missteps in handling canned beans can make the difference between a decent dish and one that truly shines.
Here are five common mistakes to avoid when cooking with canned beans, plus expert tips on how to get the most out of every can in your pantry.
1. Skipping the rinse: Why draining and rinsing is essential
Open a can of beans and you’ll notice they’re swimming in a thick, almost gel-like liquid. This liquid isn’t just water—it’s a mixture of starch, proteins, and preservatives, often with a hefty dose of added salt. While it’s safe to consume (and in the case of chickpeas, even has special uses in vegan cooking), this liquid can interfere with both the taste and texture of your dish if used indiscriminately.
For most recipes, the starchy brine can make sauces and broths cloudy or even slimy. And because of its sodium content, it can unintentionally push your dish into the “too salty” zone. If you’re aiming for vibrant, clean flavors—like in salads or stir-fries—or a crisp texture for roasted beans, rinsing is crucial.
What to do instead:
Place your canned beans in a colander or fine-mesh sieve and rinse them thoroughly under cool running water. Use your hands to gently stir and separate them so every bean gets a good rinse. This simple step not only removes excess starch and salt but also helps the beans hold their shape better during cooking. It’s a quick fix that leads to fresher-tasting, less-clumpy beans every time.
2. Over-seasoning: Beware of the hidden salt content
We’re often reminded to season as we go when cooking—but canned beans are an exception to this rule. Most varieties come pre-seasoned with salt or a salted brine to preserve freshness. Even after rinsing, beans may retain enough sodium to throw off your dish’s flavor balance if you’re not careful.
The common mistake? Treating canned beans like freshly cooked, unsalted beans. Adding your usual amount of salt could result in an overwhelmingly salty dish that’s difficult to salvage without diluting your entire recipe.
What to do instead:
Check the label on your canned beans before you begin. If they’re not marked as “low-sodium” or “no salt added,” assume they contain a significant amount of salt. After rinsing, taste one or two beans to gauge their saltiness. When seasoning, start with small amounts and adjust gradually. For maximum control, opt for unsalted or low-sodium canned beans whenever possible—you’ll then have the freedom to season your dish exactly the way you like.
3. Misjudging substitutions: Canned vs. dried beans
Canned beans save time, skipping the soaking and long simmering required for dried beans. But if a recipe calls for dried beans and you swap in canned beans at a 1:1 ratio, you might not get the results you expected.
Here’s why: dried beans nearly double in size and weight after soaking and cooking. So, one cup of dried beans yields roughly two cups of cooked beans. If you replace one cup of dried beans with one cup of canned beans, your dish may end up short on protein, fiber, and substance.
What to do instead:
A good rule of thumb is to use two 15-ounce cans of beans for every cup of dried beans called for in a recipe. This accounts for the added water weight and ensures the dish keeps its intended balance of flavors and textures. Remember to drain and rinse canned beans before adding them unless the recipe specifically asks for their liquid.
4. Forgetting to dry beans before roasting
Roasted chickpeas and other roasted beans are popular as a crunchy snack or a salad topping, but achieving that golden, crispy exterior is only possible if your beans are thoroughly dry before roasting.
The mistake many cooks make is skipping this crucial step. Wet beans tossed in oil will steam in the oven rather than roast, resulting in a soft or mushy texture—not the crunchy snack you had in mind.
What to do instead:
After draining and rinsing, spread the beans out on a clean kitchen towel or paper towels. Gently pat them dry, rolling them lightly to soak up any remaining moisture. For even better results, let them air-dry for a few minutes before seasoning and roasting. This extra step ensures the beans crisp up evenly and develop that irresistible crunch.
5. Storing leftover beans in the can
Once you’ve opened a can of beans, it might seem convenient to pop the lid back on and place it in the fridge. But here’s the issue: after opening, the beans’ contact with the metal can alter their flavor, giving them a metallic or “tinny” taste over time. In some cases, the can’s interior lining can degrade and affect the beans’ quality.
What to do instead:
Transfer leftover beans (along with a little water or cooking liquid to keep them moist) into an airtight glass or BPA-free plastic container. Store in the refrigerator and use within 3 to 5 days for best taste and texture. If you want to store them longer, freeze them. Spread the beans out on a baking sheet to freeze individually, then transfer to a freezer-safe bag or container. Frozen beans last up to three months and can be added straight into soups or stews without thawing.
Bonus Tips for Cooking with Canned Beans
To take your canned bean dishes to the next level, consider these expert tips:
Enhance their flavor: Sauté beans with aromatics like garlic, onions, and spices in olive oil after rinsing. This step adds a layer of flavor that canned beans often lack.
Mix bean varieties: Combine different types—like black beans, kidney beans, and cannellini—in salads or soups for varied textures and colors.
Avoid overcooking: Since canned beans are already cooked, add them toward the end of your recipe’s cooking time to prevent them from becoming mushy.
Save your aquafaba: If you’re using canned chickpeas, keep the liquid. Known as aquafaba, it’s a fantastic vegan egg substitute in recipes like meringues, mayonnaise, and baked goods.
The Bottom Line: How to Make Canned Beans Your Pantry MVP
Canned beans are more than just a convenience food—they’re a nutritious, protein-packed ingredient that can elevate your meals when handled properly. By rinsing off excess starch and salt, seasoning carefully, substituting correctly for dried beans, drying thoroughly for roasting, and storing leftovers smartly, you’ll get the best texture and flavor out of every can.
So the next time you reach for a can of beans, remember these simple tips. Whether it’s a spicy three-bean chili, a Mediterranean chickpea salad, or a quick protein boost for your stir-fry, canned beans are ready to help you create delicious, satisfying meals—without the pitfalls.

